You can export the findings generated by Endor Labs to GitHub Advanced Security so that you can view the findings in the GitHub. Endor Labs exports the findings in the SARIF format and uploads them to GitHub. You can view the findings under Security > Vulnerability Alerts > Code Scanning in GitHub.
Prerequisites
Ensure that you meet the following prerequisites before exporting findings to GitHub Advanced Security:
- Endor Labs GitHub App (Pro) installed in your GitHub repository. See Deploy Endor Labs GitHub App (Pro) for more information.
- Code scanning feature is enabled in your GitHub repository. Refer to Enabling code scanning for more information.
- Download and install endorctl. See Install endorctl for more information.
Create a GHAS SARIF exporter
GHAS SARIF exporter allows you to export the findings generated by Endor Labs in the SARIF format. See Understanding SARIF files for more information on the SARIF format and Endor-specific extensions.
You can create a GHAS SARIF exporter using the Endor Labs API.
Run the following command to create a GHAS SARIF exporter.
endorctl api create -n <namespace> -r Exporter -d '{
  "meta": {
    "name": "<exporter-name>"
  },
  "tenant_meta": {
    "namespace": "<namespace>"
  },
  "spec": {
    "exporter_type": "EXPORTER_TYPE_GHAS",
    "message_type_configs": [
      {
        "message_type": "MESSAGE_TYPE_FINDING",
        "message_export_format": "MESSAGE_EXPORT_FORMAT_SARIF"
      }
    ]
  },
  "propagate": true
}'
For example, to create a GHAS SARIF exporter named ghas-exporter in the namespace doe.deer, run the following command.
endorctl api create -n doe.deer -r Exporter -d '{
  "meta": {
    "name": "ghas-exporter"
  },
  "tenant_meta": {
    "namespace": "doe.deer"
  },
  "spec": {
    "exporter_type": "EXPORTER_TYPE_GHAS",
    "message_type_configs": [
      {
        "message_type": "MESSAGE_TYPE_FINDING",
        "message_export_format": "MESSAGE_EXPORT_FORMAT_SARIF"
      }
    ]
  },
  "propagate": true
}'
Configure scan profile and project to use the GHAS SARIF exporter
You can configure the scan profile to use the GHAS SARIF exporter and associate it with your project. You can also set the scan profile as the default scan profile so that all the projects in the namespace use the scan profile by default. See Scan profiles for more information.
Configure the scan profile
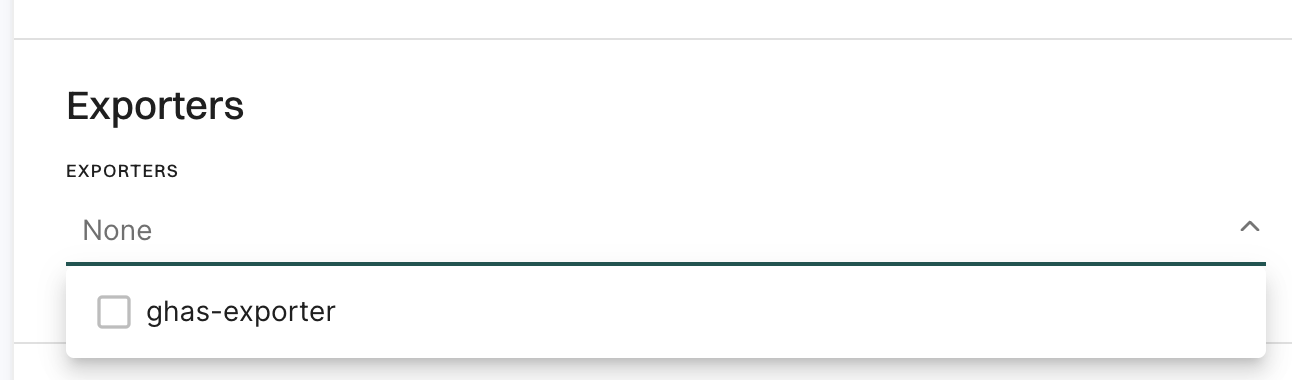
Ensure that you select the GHAS SARIF exporter in the Export section of the scan profile.
-
Select Settings from the left sidebar.
-
Select Scan Profiles.
-
Select the scan profile you want to configure and click Edit Scan Profile.
-
Select the GHAS SARIF exporter under Exporters and click Save Scan Profile.
Configure the project to use the scan profile
Ensure that you choose the scan profile with the GHAS SARIF exporter for the project.
-
Go to the Projects page and select the project you want to configure.
-
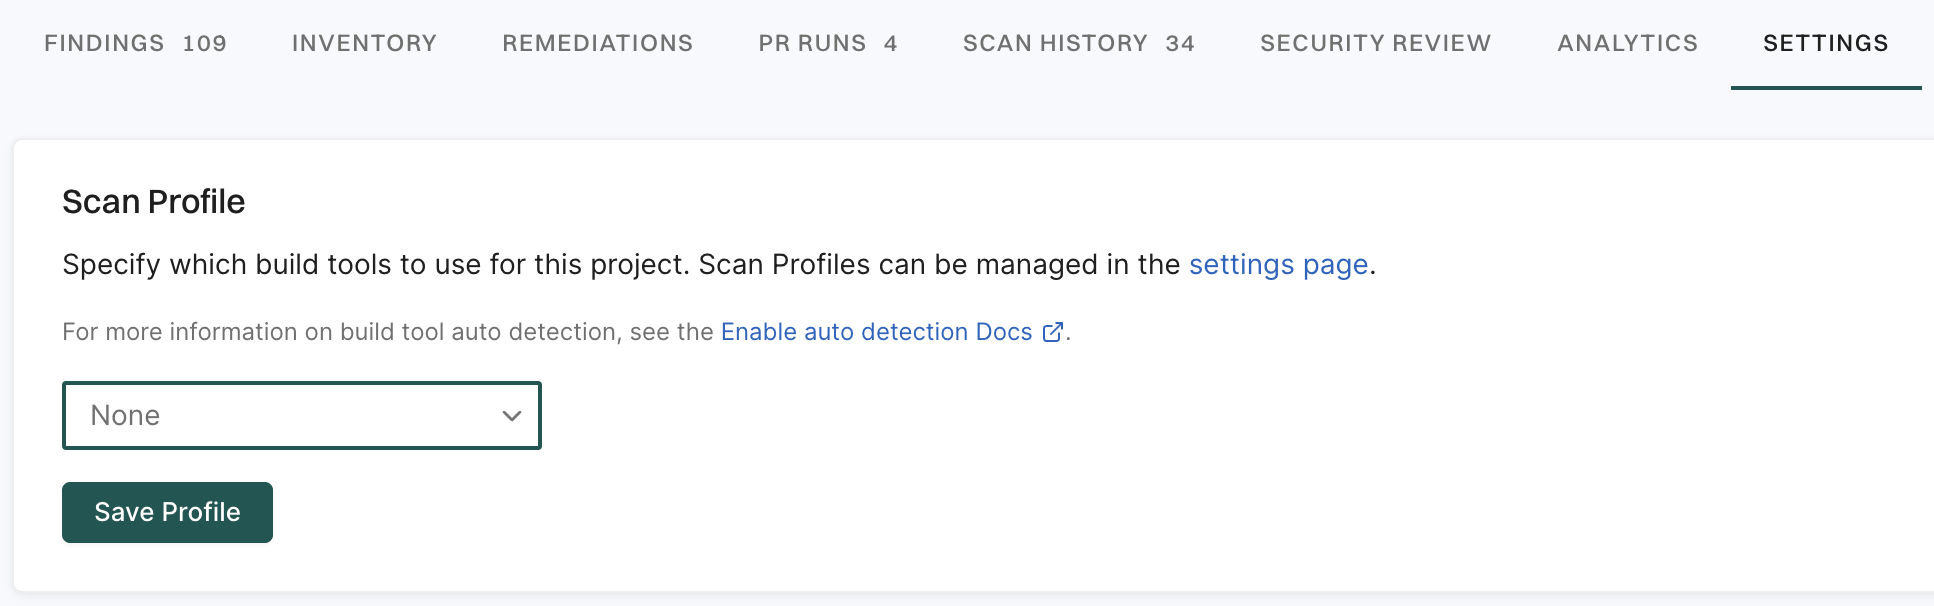
Select Settings and select the scan profile you want to use under Scan Profile.
Scan projects to use the GHAS SARIF exporter
After the configuration is complete, your subsequent scans will export the findings in the SARIF format and upload them to GitHub. You can use the rescan ability to scan the project immediately instead of waiting for the next scheduled scan. See Rescan projects for more information.
If you have enabled pull request scans in your GitHub App, the GHAS SARIF exporter exports the findings for each pull request.
View findings in GitHub
-
Navigate to your GitHub repository.
-
Select Security.
-
Select Code scanning under Vulnerability Alerts.
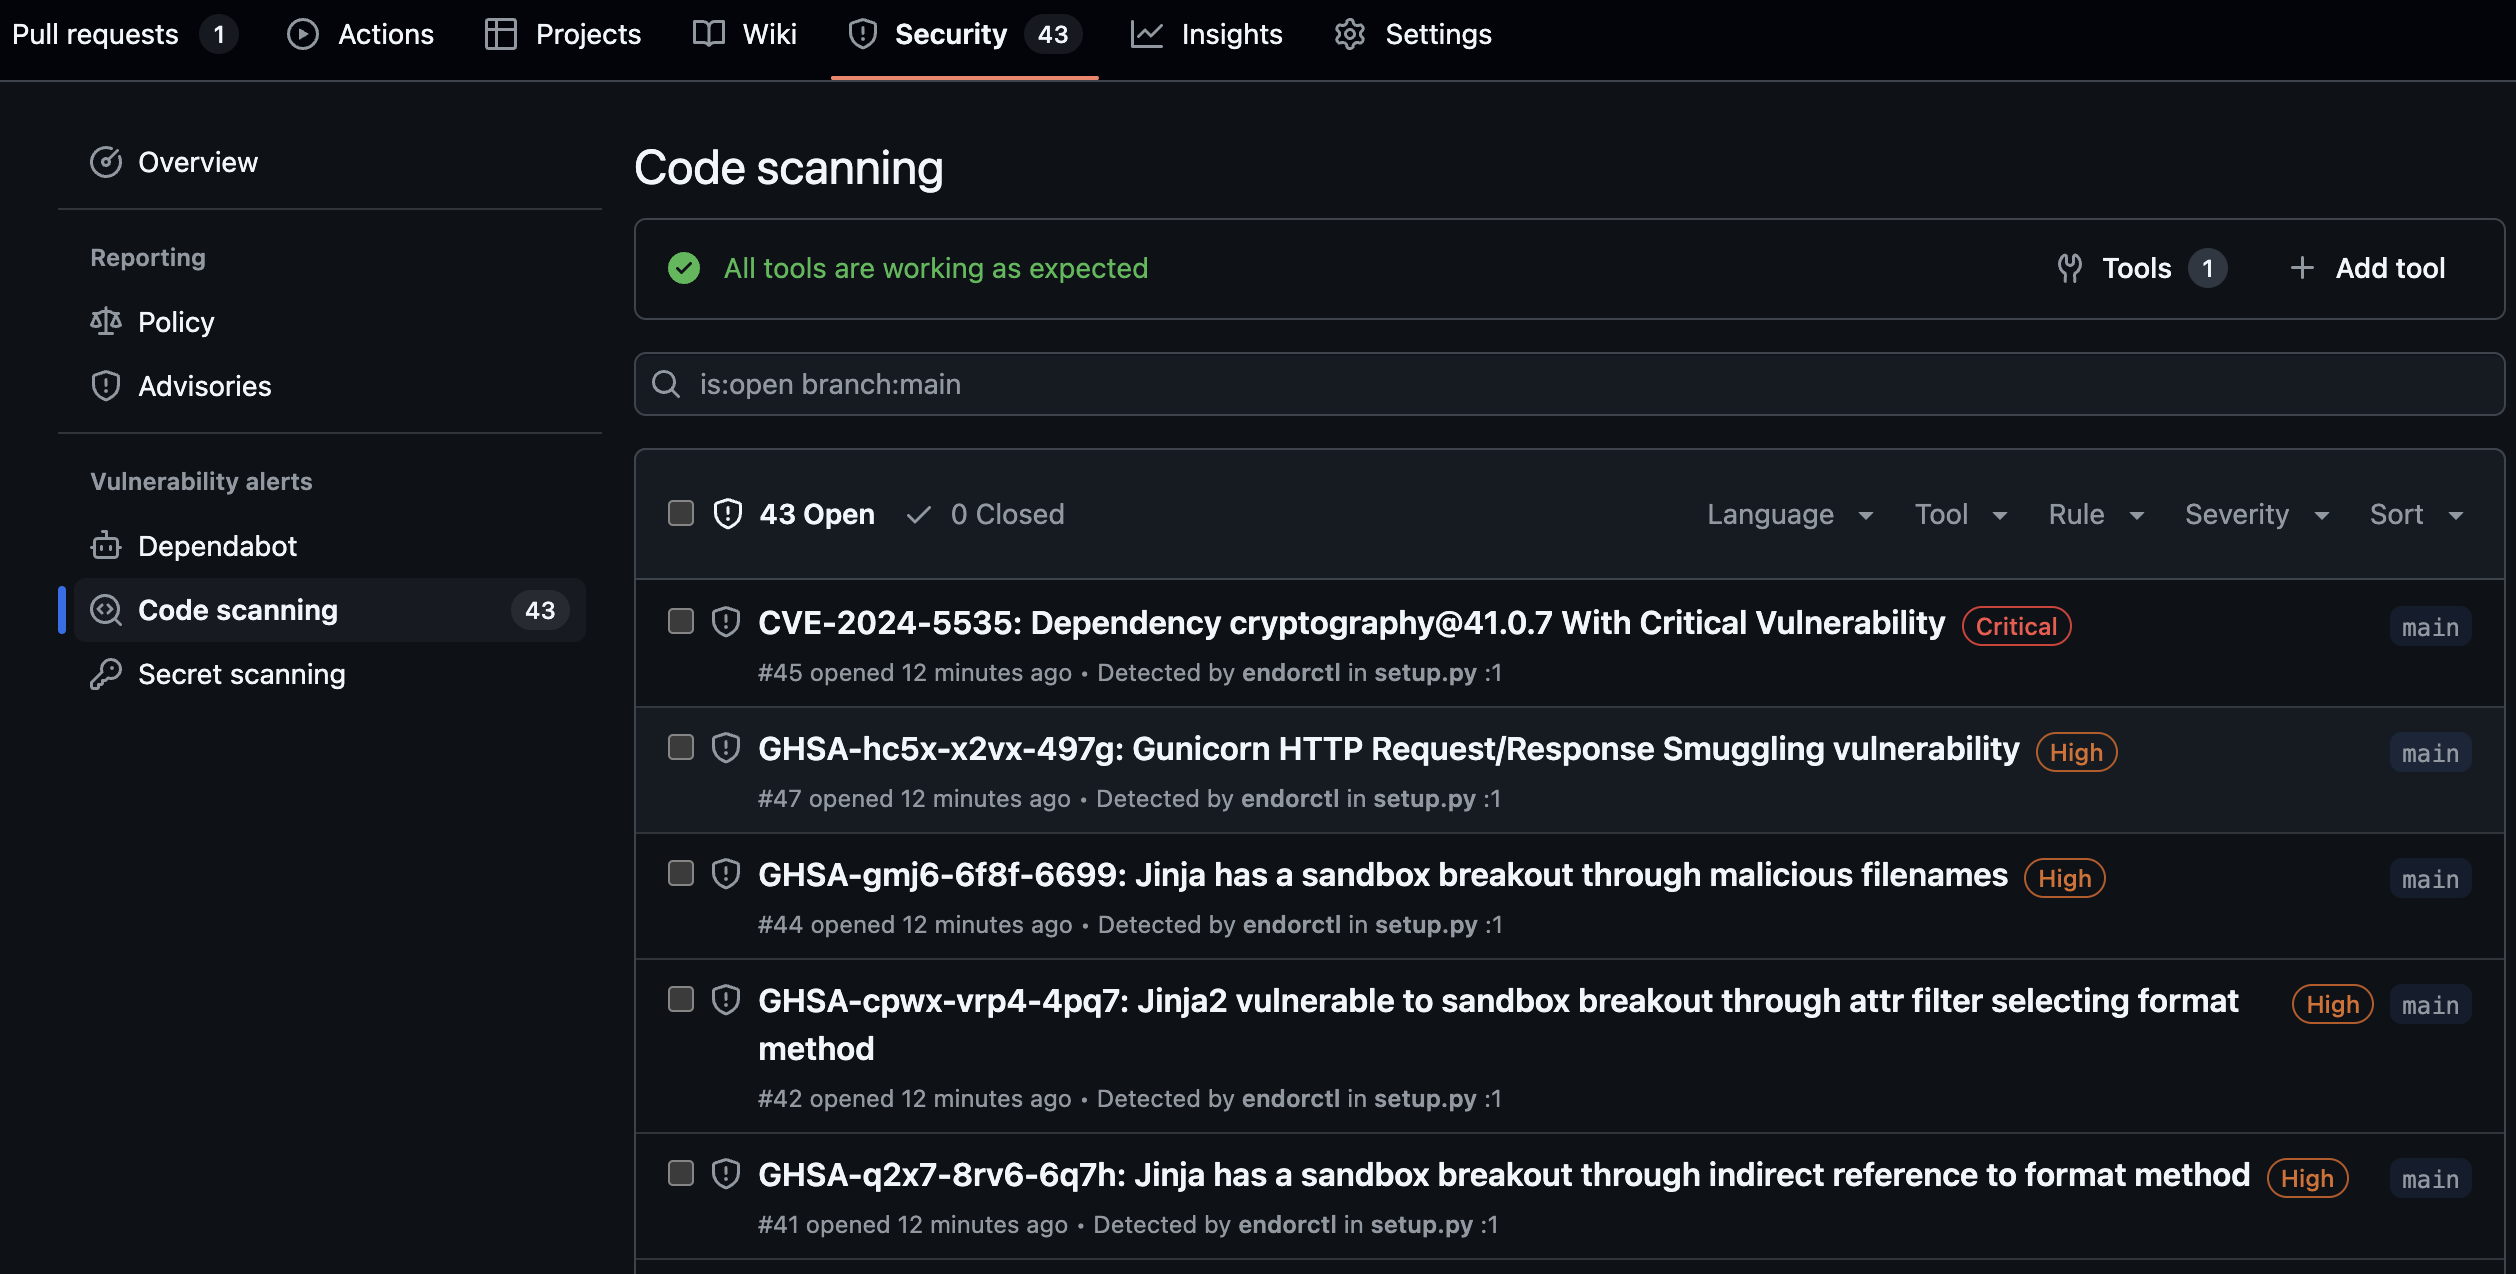
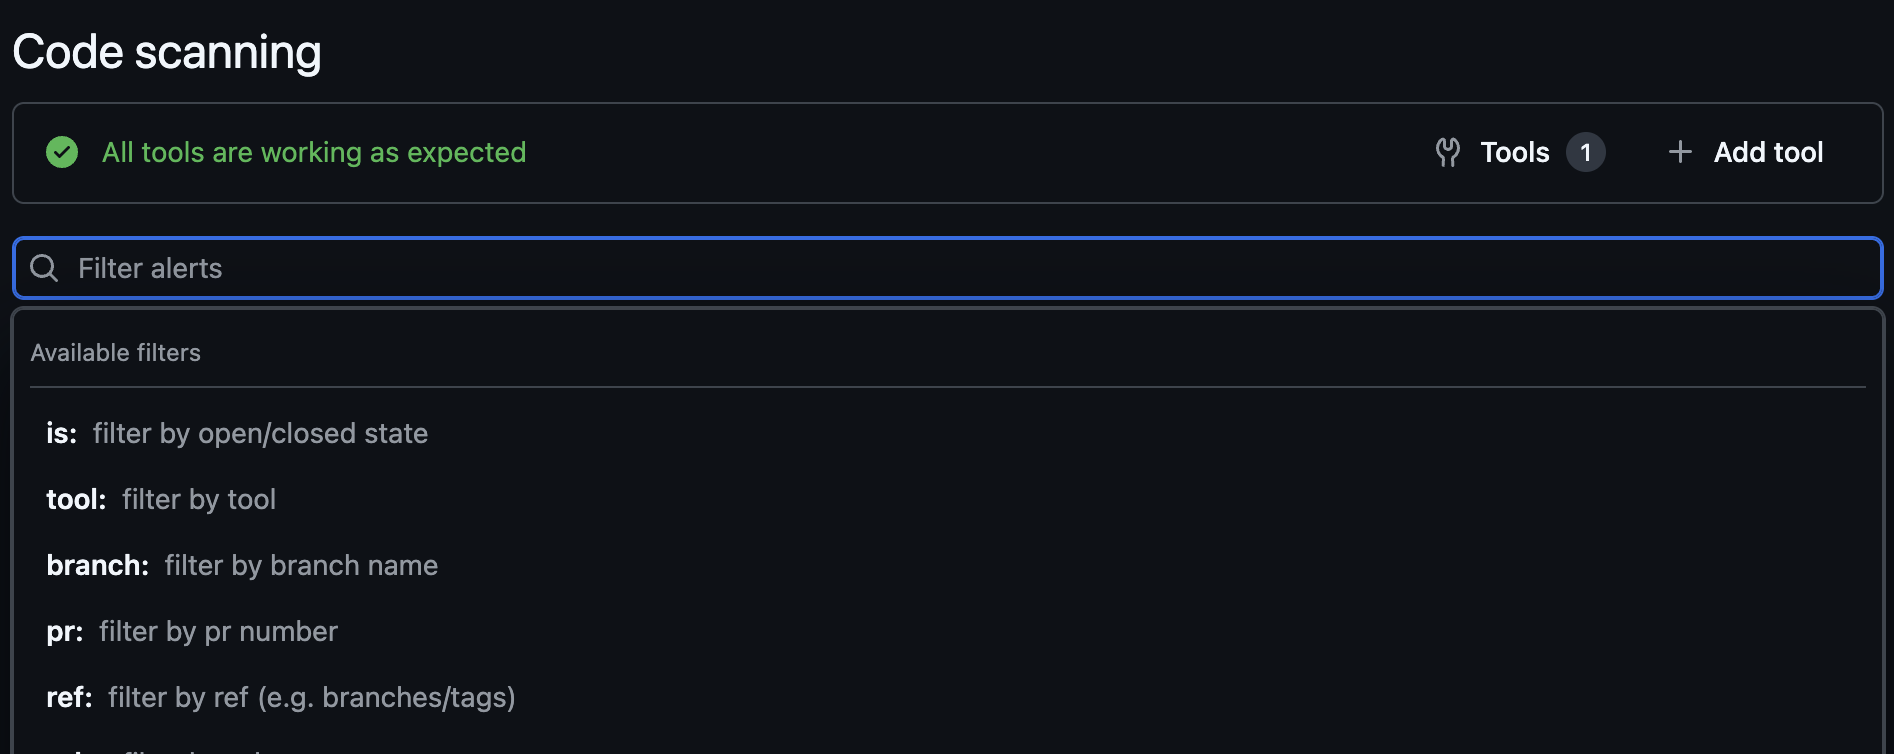
You can use the search bar to filter the findings. You can also view findings for a specific branch and other filter criteria. You can also view the findings specific to a pull request if you have enabled pull request scans. You can filter the findings by the pull request number and view findings associated with the pull request. You can select a finding and view the commit history behind the finding.
-
Select Campaigns to view and create security campaigns that coordinate remediation efforts across multiple repositories. See GitHub security campaign for more information.
Filter findings exported to GitHub
You can control which findings are exported to GHAS by using action policies. Only findings from projects within the scope of your configured action policies will be exported to GitHub Advanced Security.
To filter findings using action policies:
- Create an action policy that defines the criteria for findings you want to export, or use an existing action policy.
- Assign specific projects to the scope of the action policy you want to use.
- Run the following command to create a GHAS SARIF exporter that exports only findings from projects in the scope of your action policies.
MESSAGE_TYPE_ADMISSION_POLICY_FINDING as the message_type to filter findings based on your action policies.
endorctl api create -n <namespace> -r Exporter -d '{
   "meta": {
     "name": "<exporter-name>"
   },
   "tenant_meta": {
     "namespace": "<namespace>"
   },
   "spec": {
     "exporter_type": "EXPORTER_TYPE_GHAS",
     "message_type_configs": [
       {
         "message_type": "MESSAGE_TYPE_ADMISSION_POLICY_FINDING",
         "message_export_format": "MESSAGE_EXPORT_FORMAT_SARIF"
       }
     ]
   },
   "propagate": true
 }'